Adding the new catalog type to a catalog filter
-
In the DataGroup Catalog Editor dialog click the
 icon next to
 Filter menu .
Opens the Catalog Filters dialog attached to the toolbar.
Filter menu .
Opens the Catalog Filters dialog attached to the toolbar.
- Click Filter Settings... to open the Modify Catalog Filters dialog. In the Modify Catalog Filters dialog you can add new filters and modify those in the Available Catalog Filters list.
-
Click
 to open the Add Catalog Filter dialog.
In the Add Filtered Catalog dialog, enter the Name and the Display name fields, for example Robot and Robot - Filter respectively.
Click OK in the Add Catalog Filter dialog to accept the new catalog filter.
- In the Filter Settings select required type(s) in the Available Catalog Types list, in this example the Robot catalog type and with a click on right arrow move it in the Selected Catalog Types. When done, click OK in the Modify Catalog Filters dialog to complete the defining of filters.
-
In the DataGroup Catalog Editor dialog click the icon.
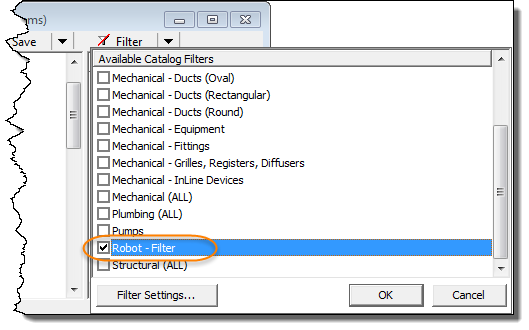
- Check the filter to apply and click OK. The checked catalog filter(s) are now available to apply in the catalog editor.
-
Click the
> Filter menu to apply the selected filter.
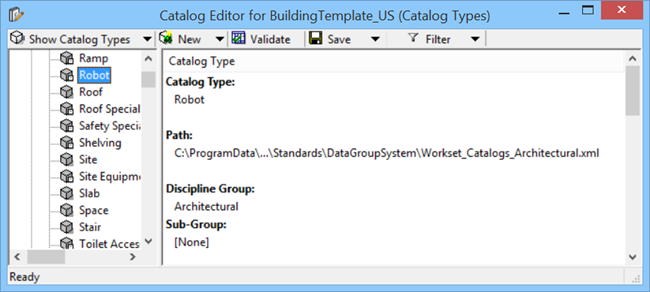
As a result of Robot-Filter, now the Robot catalog type also displays in the DataGroup Catalog Editor directory.
The DataGroup Catalog Editor should remain open to continue the next procedure.


 indicates one or more filters are applied.